Written by: David Islas
I want to start by saying that I am by no means a VR expert, but I would like to share with you some of the systems and programs used on the Portland Building Reconstruction project. The Portland building project was split into three different systems: Existing Conditions, Proposed Design, and Live Model.
Existing Conditions: Documenting existing conditions in VR not only helped to preserve panoramas of the existing building but it also helped to compare and contrast the existing photos to the new design. The following system was used for capturing and sharing VR views: First, we would take a panoramic 360 photo using the Ricoh Theta S camera, then we opened Pano2VR program (free) to drag and drop panoramic photo(s) into the program. Once the photo(s) were successfully imported into Pano2VR, the program automatically transformed the panoramic photo(s) into spherical, viewable 360 photos. Pano2VR has various ways of exporting Virtual Reality views, but the preferred method of exporting that we used was the Google Cardboard file format.
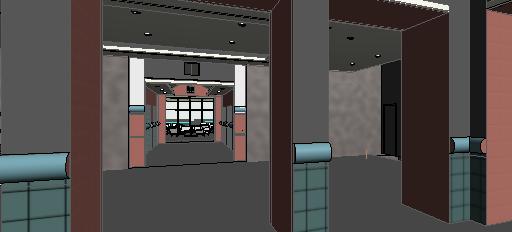
Proposed Design: This process followed the same procedures as the existing conditions system, with the only difference being in how we got the flat panoramic photos for the current design. The way that we created those panoramic views was by exporting our Revit model into a rendering program called Lumion. Once in Lumion, there is a Panorama function button that allows you to save flat panoramic renderings that can then be imported into Pano2VR. Once the panoramic image is brought into Pano2VR the program automatically creates a viewable spherical 360 photo. This file can then be exported into the Google Cardboard format.
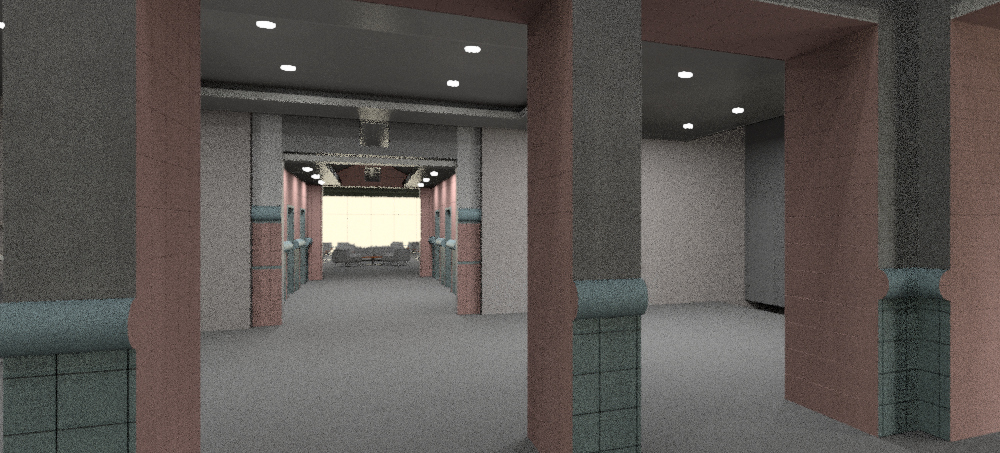
Live Model: Viewing the live model in VR is by far the most straight forward VR system that we used in the Portland Building project. This system allowed for the design team and consultants to coordinate in VR, it was also a great way to make sure all of the models were aligned. Our Virtual Reality station was comprised of a PC compatible with the Oculus Rift, Revit, and Enscape. This system was very simple to use, all that was needed was a Revit model with Enscape as a plug in and an Oculus rift headset. When you toggle on the headset in the Enscape tab, you can then simply explore the Revit model live in Virtual Reality.
These are just some of the many ways one can use Virtual Reality in architectural design and planning. There are new programs and procedures coming out all of the time, so if it’s something that interests you, there is always plenty to learn.


